How often should you clean an aquarium filter?
Use the model's service instructions and the filter's performance together. Reduced flow can signal accumulated debris, but an obstructed intake, trapped air or a dirty impeller can also be involved. Record what normal flow looks like after a successful service so that the next change is easier to recognise. A calendar reminder is useful; a universal weekly replacement rule is not.
Before opening anything, watch the fish and check temperature and water readings. A stopped filter with distressed fish is an urgent equipment and care problem, not an ordinary cleaning appointment. Use the urgent-help checks and contact a fish veterinarian for serious breathing trouble, collapse or rapid deterioration. Restore safe circulation as appropriate while arranging prompt advice for affected fish.
Sources: Fluval ↗ Merck Veterinary Manual ↗ RSPCA ↗
Identify what each piece is doing.
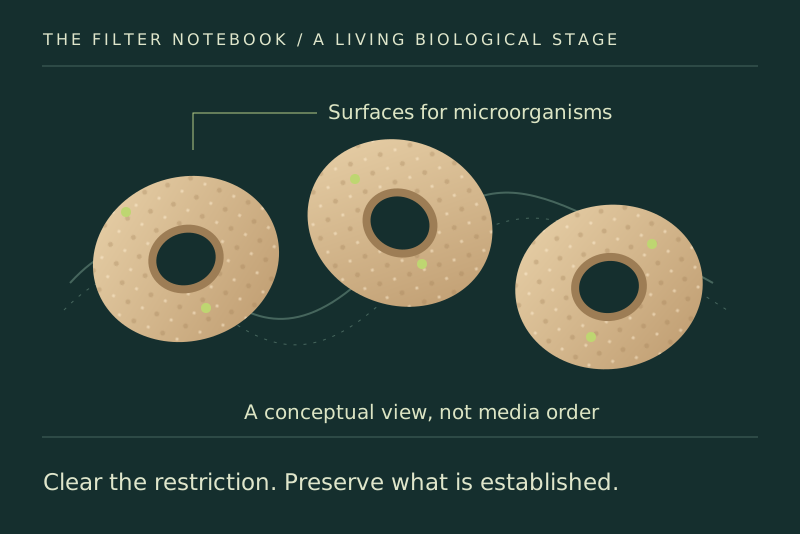
Look at the parts diagram before removing a stack of unfamiliar trays. Media can perform more than one job: a sponge that catches debris also offers surfaces for microorganisms. Brown colour alone does not show that a piece is spent. Keep the order and orientation in a photograph so you can put everything back correctly.
| Component or stage | Main job | Maintenance decision |
|---|---|---|
| Reusable foam or other mechanical media | Collect suspended debris | Clean as directed when loaded or flow is restricted; distinguish reusable material from disposable pads. |
| Established biological media | Provide surfaces for waste-processing microorganisms | Preserve a working established stage; avoid routine sterilising or replacing everything together. |
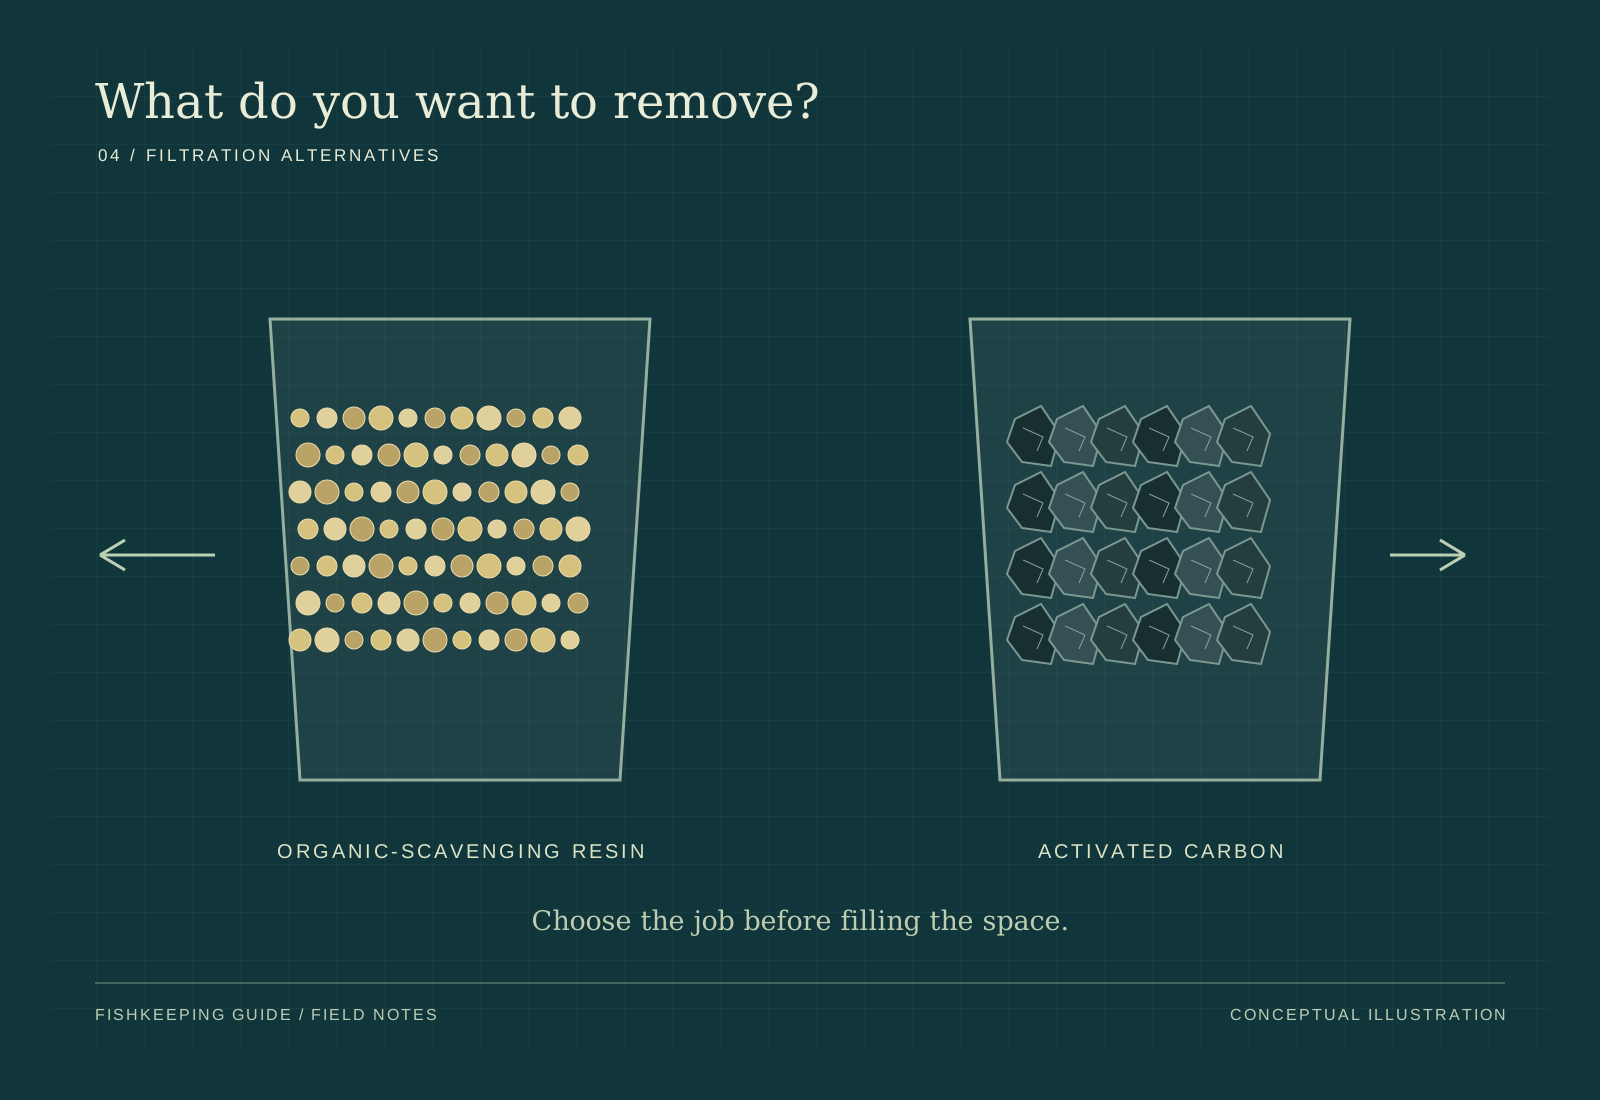
| Carbon or another chemical medium | Remove substances within that product's stated purpose | Follow its instructions and replacement limits; it is not a substitute for biological filtration. |
| Intake, casing, impeller and pipework | Move water through the filter | Clear obstructions and clean accessible parts using the model's service procedure. |
Prepare before switching it off.
Read the safety and restart steps for the exact model. Set out a dedicated bucket, the permitted cleaning tools and somewhere safe for wet components. If combining the job with a planned water change, keep some removed aquarium water for rinsing reusable biological media. Prepare suitable replacement water separately. This avoids discovering halfway through that your only bucket contains detergent residue.
Follow the appliance instructions for disconnecting power before putting hands in the water or dismantling equipment. Keep plugs and sockets dry. Damaged wiring, water at an outlet or an electrical fault calls for safe isolation and qualified help, not improvised repair. Keep the service organised so biological media is not left drying while you search for a missing part.
Wash hands before and after care, rinse away soap before working in the tank, and cover cuts or use suitable gloves. Keep aquarium equipment away from food preparation. Cleaning a work surface afterwards is a different task from disinfecting a living biological filter.
Clean the blockage without stripping the whole filter.
Gently swish or rinse reusable biological media in removed aquarium water, following its instructions. Remove accumulated loose debris without trying to make cultured material look new. Do not use soap, boil the media or rinse this established biological stage under disinfected tap water. Replace the rinse water as needed during the job rather than carrying all the loosened waste back into the filter.
Service the intake, impeller and other accessible hard parts as the manual permits. The Fluval AquaClear manual, for example, describes a clear-water rinse for specified hard parts and prohibits detergents. That does not make a tap-water rinse appropriate for its biological media. Conversely, advice to protect cultured media does not mean every piece of plastic can only be cleaned in old tank water.
If flow remains poor after removing debris, stop and use the model's troubleshooting instructions. Forcing an impeller, bypassing a seal or discarding an unfamiliar part can turn a maintenance job into equipment failure.
Can you replace all the cartridges at once?
First establish which parts contain the working biological stage. Replacing every established medium during a routine clean can remove much of that stage at once. Follow the manufacturer's replacement instructions while preserving an appropriate established biological stage where the design allows. A worn-out sponge, exhausted chemical medium and intact biological carrier are different maintenance decisions.
Some cartridges combine mechanical, chemical and biological functions. If the instructions appear to require replacing the only established stage, ask the manufacturer for a transition method for that model. Do not cut sealed cartridges or modify the filter on the basis of a generic article. Manufacturer replacement intervals also differ; an interval for one branded medium is not a rule for every ceramic ring or sponge.
Contamination, infectious disease or a medically directed disinfection plan can require different handling. Material from another aquarium may also bring disease. Keeping useful microorganisms is a routine maintenance goal, not a reason to transfer suspect media between tanks.
Sources: Fluval ↗ RSPCA ↗ Merck Veterinary Manual ↗
Check the restart before walking away.
Reassemble the filter in the documented order. Refill or prime it exactly as that model requires, then restore power according to the instructions. A priming sequence for a hang-on filter is not automatically suitable for a canister or internal pump. Do not run a pump dry.
Check actual water movement, joints, seals and the floor or cabinet beneath the filter. Listen for an unfamiliar sound and inspect any persistent loss of flow. Confirm that other equipment disconnected for the work has been restored appropriately. A glowing power indicator does not prove that water is circulating.
An extended or unknown outage is outside this routine servicing sequence. If media dried out or flow stopped for an uncertain period, record what happened, test the water and seek advice based on the fish and results. UF/IFAS identifies oxygen, temperature and waste control as priorities during outages; its guidance also makes clear that biological media needs oxygen. These sources do not establish one safe filter-off duration for every system.
Sources: Tetra ↗ Merck Veterinary Manual ↗ UF/IFAS and Florida Sea Grant ↗
What should you check after cleaning?
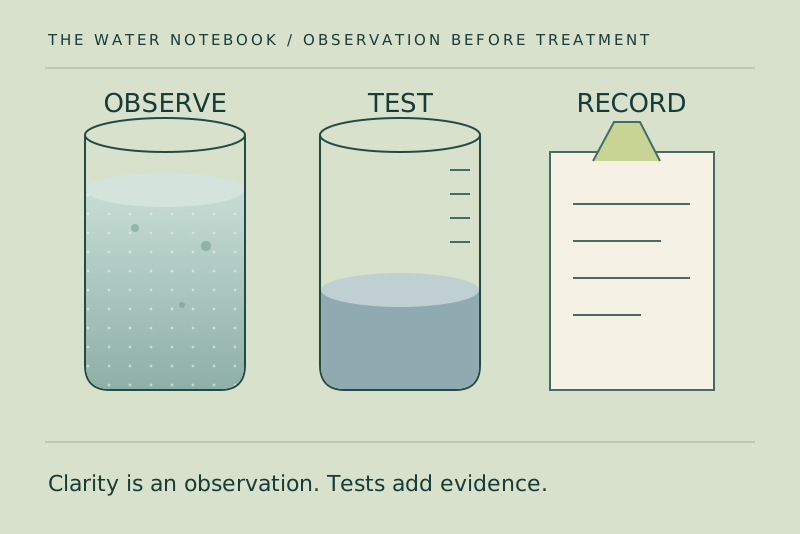
Record the date, parts cleaned or replaced, flow and relevant water readings. Recheck fish behaviour and test more closely after a significant media change or an unexpected interruption. Record ammonia and nitrite rather than judging success from clarity alone. If either becomes detectable, investigate promptly; distress needs urgent help rather than a wait for a new cycle to finish.
For the next service, keep the useful detail: which intake blocked, which component needed attention and whether the maintenance restored normal flow. The aim is a repeatable job that supports healthy water. You do not need a new product each time the filter looks brown. Use the care log to keep those details beside your feeding and water-change notes.
A manufacturer manual is used to demonstrate why media and hard parts need different handling. The reader's exact filter instructions govern its servicing, replacement and restart.
- Fluval: Filter media cleaning ↗Media functions, reduced flow, cleaning and retaining established biological material. Brand-specific replacement intervals and claims that carbon is crucial are not generalized.
- Merck Veterinary Manual: Routine health care of fish ↗Routine filtration maintenance, flow checks and distinction between health management and disinfection contexts. No universal cartridge schedule or household disinfection method is transferred to live biological media.
- RSPCA: Pet fish health ↗Abnormal breathing and behaviour call for water checks and fish-veterinary assessment; no diagnosis from a single sign.
- RSPCA: Choosing an aquarium for pet fish ↗Mechanical and biological filter functions, gentle media rinsing in removed aquarium water, hard-part maintenance and disease-free media. Numerical water-change advice is not generalized.
- Fluval: AquaClear AC20, AC30, AC50 and AC70 English manual ↗Model-specific electrical precautions, hard-part rinsing, detergent prohibition, reassembly and priming. Its procedure is an example and must not be applied unchanged to other filter designs.
- Tetra: FilterJet 400, 600 and 900 instruction manual ↗Electrical isolation, moisture protection, damaged equipment, immersed operation and dry-running prohibition. The model's sponge-rinsing and maintenance interval are not treated as instructions for every biological filter.
- OATA: Set up and look after a freshwater aquarium ↗Planning maintenance, recording results and equipment hygiene. Its numerical water-change schedule and standing-water advice are not adopted.
- CDC: Fish and healthy pet habits ↗Hand hygiene, gloves, separate equipment and avoiding food-preparation areas. No disinfectant is directed into a working biological filter.
- OATA: Testing freshwater aquarium water quality ↗Disinfectants affect fish and filter microorganisms; rinse biological media in removed tank water and use tests rather than visible clarity to assess water. No universal ammonia-treatment dose or water-change volume is prescribed.
- UF/IFAS and Florida Sea Grant: How to save your fish during a power outage ↗Outage priorities include oxygen, temperature and waste control; biological media depends on oxygen. Species-wide fasting, temperature and restart schedules are not adopted. No universal safe filter-off duration is established.